5.0 (4 reviews)
No-Bake Peanut Butter Chocolate Crunch Bars
These no-bake peanut butter chocolate crunch bars are the ultimate easy treat, crispy, chocolatey, and made with just a few pantry staples. Perfect for quick snacks and l
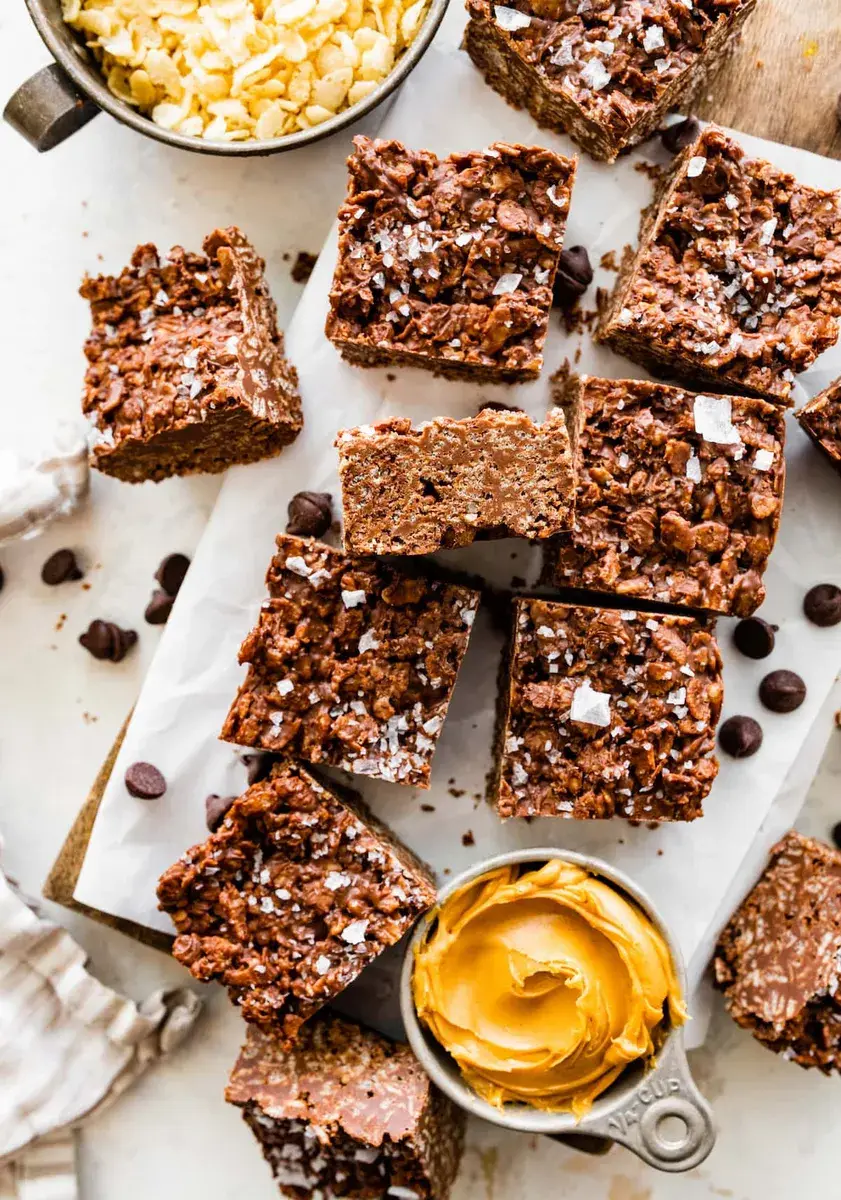
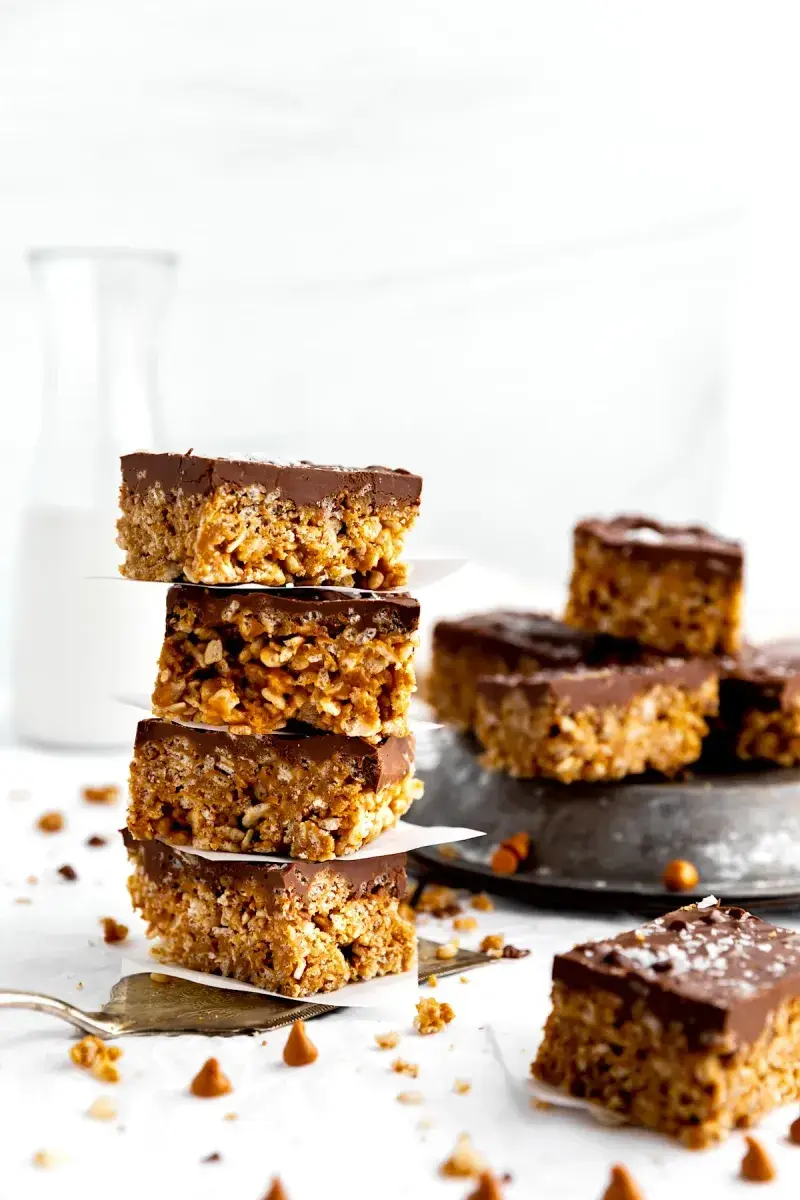
These no-bake peanut butter chocolate crunch bars are my go-to when I need a quick sweet fix without turning on the oven. They come together in under 30 minutes with just a few pantry staples. The 15-minute chill time is the hardest part, it's that easy. I added peanut butter to the classic chocolate crunch combination because, honestly, peanut butter makes everything better. The result is a crispy, chocolatey bar that tastes far better than any store-bought candy.
Why You’ll Love These No-Bake Peanut Butter Chocolate Crunch Bars
- One bowl, no oven, and only 15 minutes of chill time make these the easiest chocolate treats you'll ever make.
- The combo of creamy peanut butter and crispy rice cereal gives you a satisfying crunch in every bite.
- They store well in the fridge or freezer, so you always have a homemade snack ready.
Key Ingredients for No-Bake Peanut Butter Chocolate Crunch Bars
- Chocolate chips: Semi-sweet or dark chocolate chips give the best balance of richness. Milk chocolate will work but will make sweeter bars.
- Creamy peanut butter: Smooth and salty, it binds the bars and adds richness.
- Crisp rice cereal: Make sure it's fresh and, if needed, gluten-free. Stale cereal will result in soft bars.
Kitchen Tools for No-Bake Peanut Butter Chocolate Crunch Bars
- 9x5-inch loaf pan (or 8x8-inch pan as alternative)
- Parchment paper to line the pan for easy removal
- Microwave-safe bowl for melting chocolate
- Spatula or measuring cup for pressing mixture evenly
Tips for Making the Best No-Bake Peanut Butter Chocolate Crunch Bars
The coconut oil is key for a glossy finish, so don't skip it. Fresh cereal ensures the bars stay crispy. Press the mixture firmly into the pan using a spatula or measuring cup for an even layer. Feel free to stir in mini marshmallows or chopped nuts for variation.
Expert Tips for Perfect No-Bake Peanut Butter Chocolate Crunch Bars
To melt the chocolate smoothly, make sure your bowl is completely dry before microwaving. Heat in 30-second bursts and stir between each to avoid scorching. If you don't have a loaf pan, an 8x8-inch pan works, but the bars will be thinner. For clean cuts, use a sharp knife and wipe it between slices. You can also score the bars before freezing if you want neat squares.
Variations for No-Bake Peanut Butter Chocolate Crunch Bars
If you want to make these bars nut-free, skip the peanut butter and add an extra 1/2 to 1 cup of cereal for structure. For a salty-sweet twist, fold in 1/2 cup of crushed pretzels along with the cereal. You can also swap the chocolate chips for dark chocolate if you prefer a less sweet bar. Mini marshmallows stirred in before pressing make for a fun s'mores-inspired treat.
Serving Suggestions for No-Bake Peanut Butter Chocolate Crunch Bars
These bars are great straight from the fridge or freezer. For a more decadent dessert, serve them alongside a scoop of vanilla ice cream. You can also crumble them over Greek yogurt or a smoothie bowl for added crunch. They're sturdy enough to pack in lunchboxes without melting.
How to Store Leftover No-Bake Peanut Butter Chocolate Crunch Bars
Store bars in an airtight container in the refrigerator for up to 2 weeks. They'll stay firm and fresh. For longer storage, see the freezing section below.
How to Freeze No-Bake Peanut Butter Chocolate Crunch Bars
These bars freeze beautifully. Place them in a single layer in a freezer-safe container or zip-top bag, separating layers with parchment paper. They'll keep for up to 1 month. Enjoy them straight from the freezer or let them thaw for 5 minutes at room temperature.
Source recipe: No-Bake Peanut Butter Chocolate Crunch Bars (SnapChef ID 40e7c304-2125-48b7-bf80-7c226efd8d82). Nutrition is estimated per serving.
Recipe
No-Bake Peanut Butter Chocolate Crunch Bars
Ingredients
Instructions
- Line a 9x5-inch loaf pan with parchment paper. If you don't have a loaf pan, you can use an 8x8-inch pan.
- Add the chocolate chips and coconut oil in a large microwave safe bowl. Place in the microwave and heat in 30 second intervals until smooth.
- Add the peanut butter, vanilla extract, and flaky sea salt; stir until smooth. Gently fold in the crispy rice cereal until well combined.
- Press mixture into an even layer into the prepared pan. Sprinkle with flaky sea salt. Freeze for 15 minutes to set up.
- Use a sharp knife to cut into bars.
Notes
- These bars are great straight from the fridge or freezer. For a more decadent dessert, serve them alongside a scoop of vanilla ice cream. You can also crumble them over Greek yogurt or a smoothie bowl for added crunch. They're sturdy enough to pack in lunchboxes without melting.
- Store bars in an airtight container in the refrigerator for up to 2 weeks. They'll stay firm and fresh. For longer storage, see the freezing section below.
Nutrition per serving, estimated
| Calories | 123 kcal | 6% DV |
|---|---|---|
| Protein | 3 g | 6% DV |
| Fat | 7 g | 9% DV |
| Carbs | 14 g | 5% DV |
| Fiber | 1 g | 4% DV |
| Sugar | 10 g | — |
| Sodium | 90 mg | 0% DV |
Percent Daily Values are based on a 2,000-calorie diet. Values are estimates.
Good to know
Frequently asked questions
Can I make these bars nut-free?
Yes. Omit the peanut butter and add an extra 1/2 to 1 cup of crispy rice cereal to keep the bars firm. The flavor will be more like classic chocolate candy bars.
Are these bars gluten-free?
They are gluten-free as long as you use a brand of crispy rice cereal that is certified gluten-free. Check the label to be sure.
What kind of chocolate works best?
Semi-sweet or dark chocolate chips are ideal for a balanced richness. Milk chocolate will work, but the bars will be sweeter.
Can I use natural peanut butter?
Natural peanut butter can be used, but it may cause the mixture to be less stable because of oil separation. For best results, use a standard creamy peanut butter like Jif or Skippy.
Can I double the recipe?
Yes. Double all ingredients and press the mixture into a 9x13-inch pan. You may need to chill for 20 minutes instead of 15.
How do I get clean cuts?
Use a sharp knife and wipe it clean between cuts. For the neatest squares, score the bars before freezing, then slice after they set.